

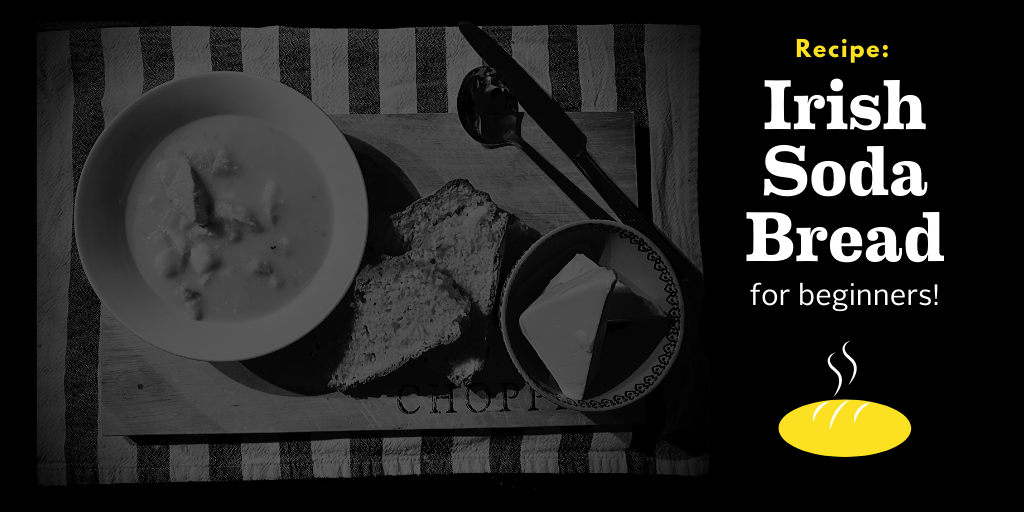
Here’s how to make an easy Irish Soda Bread while you’re at home.
Shelter-in-place has brought with it a need for comfort, entertainment, and sustenance. One of the consequences of being at home more, alongside the closure of many restaurants and food establishments, has been an earnest interest in cooking new things from scratch. And with all the extra time to try new things, some people are taking the opportunity to try their hand at recipes that they otherwise may have not had the time for before.
Part of this has been an explosion in bread-making. Given the various stages and long periods of resting, rising, and waiting, bread is one of the perfect foods to make with all the extra time people are finding themselves with during shelter in place.
So, we asked baker former Chicago-based baker Jared Batson—who gained notoriety for the hand-made pizza dough he would sell at farmers markets around the city—for some insight into how and why people can take up bread-making during shelter-in-place.
Chicago Ideas (CI): Why do you think people are turning to bread-making at this time?
Jared Batson (JB): In uncertain and constraining times like the ones we are in, I think a lot of people are looking for creative outlets to exercise their minds and feel a purpose. I think bread-baking accomplishes that and much more. Especially with the spike in sourdough baking I am seeing, the process from starter to first loaf can take up to a few weeks.
It’s a welcomed distraction that requires some daily maintenance, teaches many people a new technique, and then results in an amazing texture-filled loaf to share with your household on the back end. Breaking fresh bread with people (in this case the ones you’re holed up with) is one of the best culinary feelings that exists! The joy and pleasure it can add to an already delicious meal is infinite, though right now we are mostly limited to sharing it through the many social media and communication platforms.
CI: What’s the most important thing to keep in mind when making bread?
JB: With every loaf, there is progress. Even the “failed” loaves should serve as progress, as you continue to learn how to react to the dough, what to do differently next time, or how to take it to the next level. With that said, using your hands as much as possible is paramount. From the mixing to shaping to ripping a steamy loaf apart, your sense memory will always keep you on course.
CI: Why do you think bread-making brings people peace?
JB: I find that bringing such a simple set of 3 or 4 ingredients together with your hands can be incredibly calming and meditative. It requires you to focus intently on the dough itself, and tune out some of the noise and unwanted commotion in your brain. It’s no different to me than other creative outlets for people like playing music, painting, or writing.
CI: What recipe do you recommend for beginner bread makers?
JB: Irish Soda Bread, adapted from Chef Tracie Daly via The Ballymaloe Cookery School Team.
This is the ultimate beginner’s bread, seeing that no proofing or resting is needed, and can (and should) easily be mixed by hand. I cannot make any claim for this, nor can I do it better than the recipe from this group of Irish experts! If it ain’t broke…
What You’ll Need:
Ingredients:
- 1 Lb. (454g) – Unbleached AP Flour (sifted + extra for dusting)
- 1 Tsp – Kosher Salt (doubled if savory loaf)
- 1 Tsp – Baking Soda (sifted)
- 12 flOz (350mL) – Buttermilk (thicker the better, full fat, + extra for brushing
Equipment:
- Large mixing bowl
- Measuring utensils
- Sieve
- Spatula
- Whisk
- Sheet tray
- Wire cooling rack
- Serrated knife
Instructions:
1. Preheat oven to 450F (no fan, conventional)

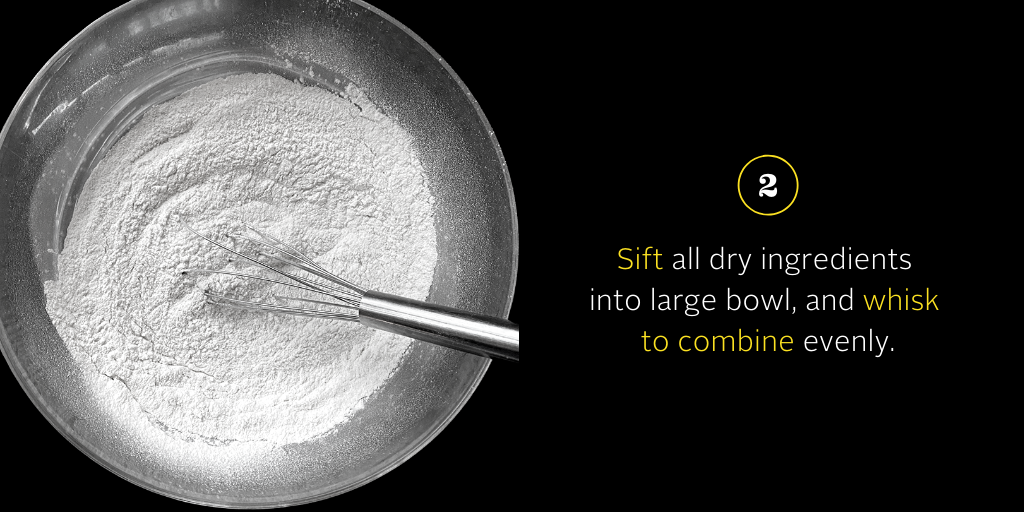
2. Sift all dry ingredients into a large bowl, and whisk to combine evenly.
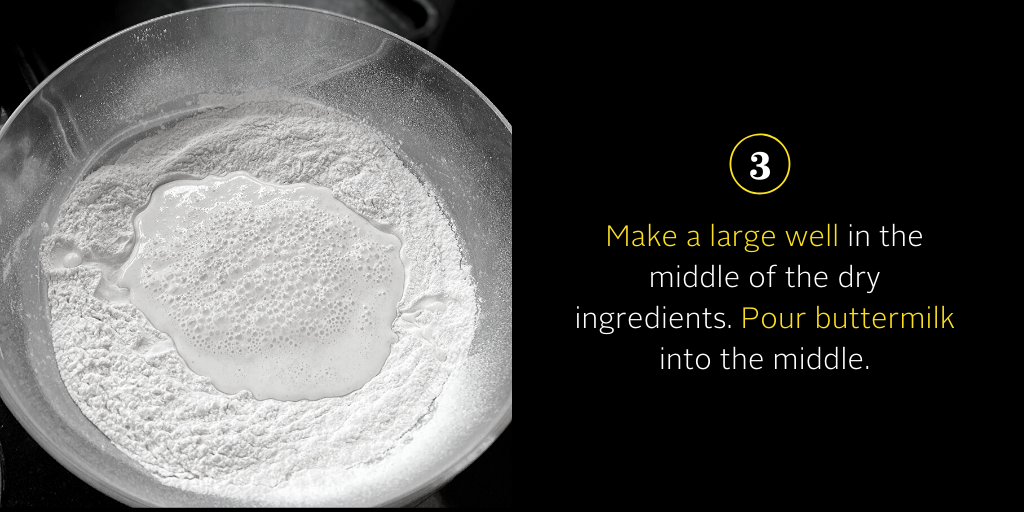
3. With your hand, make a large well in the middle of the dry ingredients. Using a spatula to get every last drop, pour buttermilk into the middle of the well in the bowl.
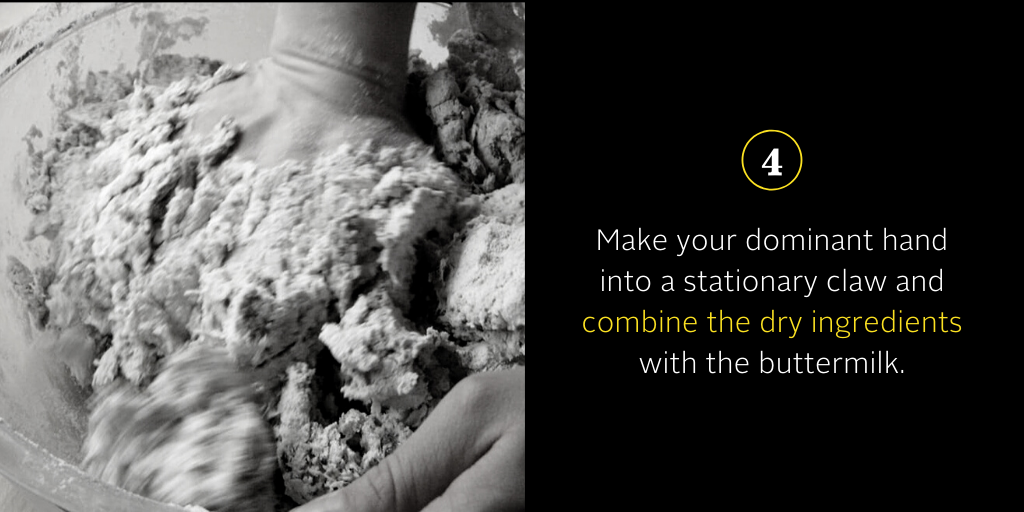
4. Make your dominant hand into a stationary claw, with your fingers as far apart as possible (think like the claw-toy grabbing machine). Intentionally and with purpose, use your claw hand to combine the dry ingredients with the buttermilk. Work in one direction only, and resist the urge to squeeze, pick up, or fold the dough. You want to mix this as little as possible while still hydrating all the flour. Think lumpy pancake batter (which, may I add, makes the best, lightest pancakes).
When the dough is mixed, yet still a tiny lumpy and craggy looking, stop and wipe as much off your claw hand back onto the pile of dough. Even if the dough looks too wet, too dry, or “wrong”, resist the urge to add more ingredients or mix any more. Overmixed/overworked dough will yield a tough, heavy, lump of a final loaf in this case.
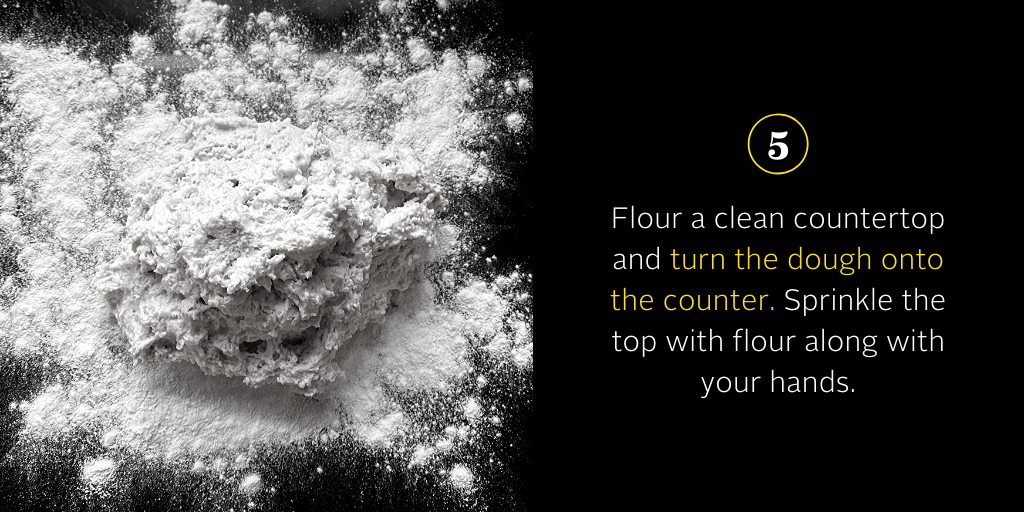
5. Generously flour a clean countertop and turn the dough out into a mound on the counter. Sprinkle the top of the dough with flour along with your hands.
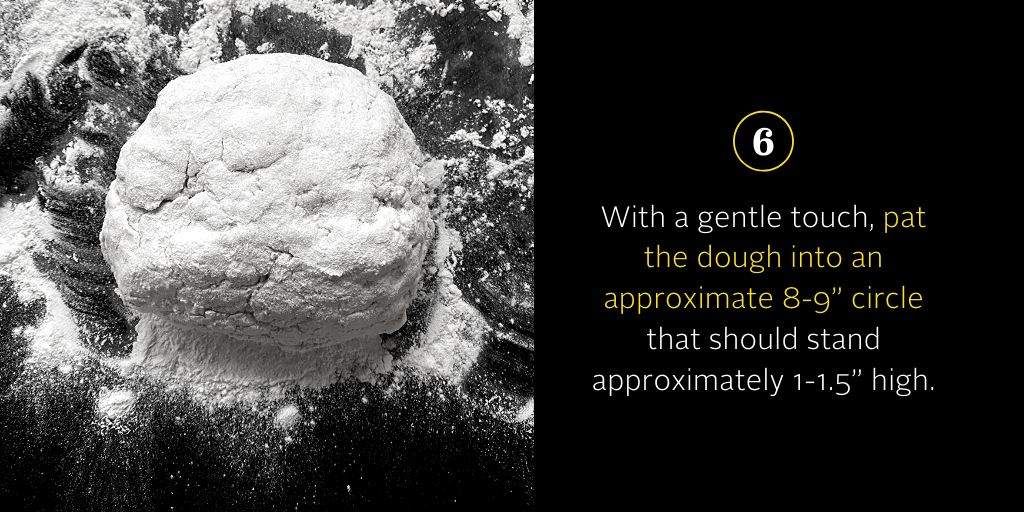
6. With a gentle touch, pat the dough into an approximate 8-9” circle that stands approximately 1-1.5” high.
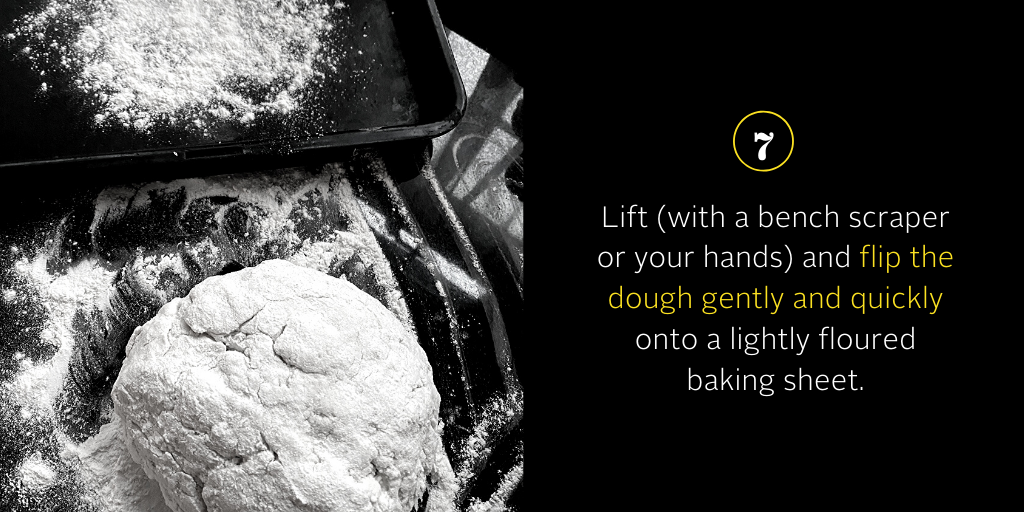
7. Lift (with a bench scraper or your hands) and flip the dough gently and quickly onto a lightly floured baking sheet. Alternatively, you can press the dough out on a floured piece of oven-proof parchment, and then slide this onto the sheet tray.
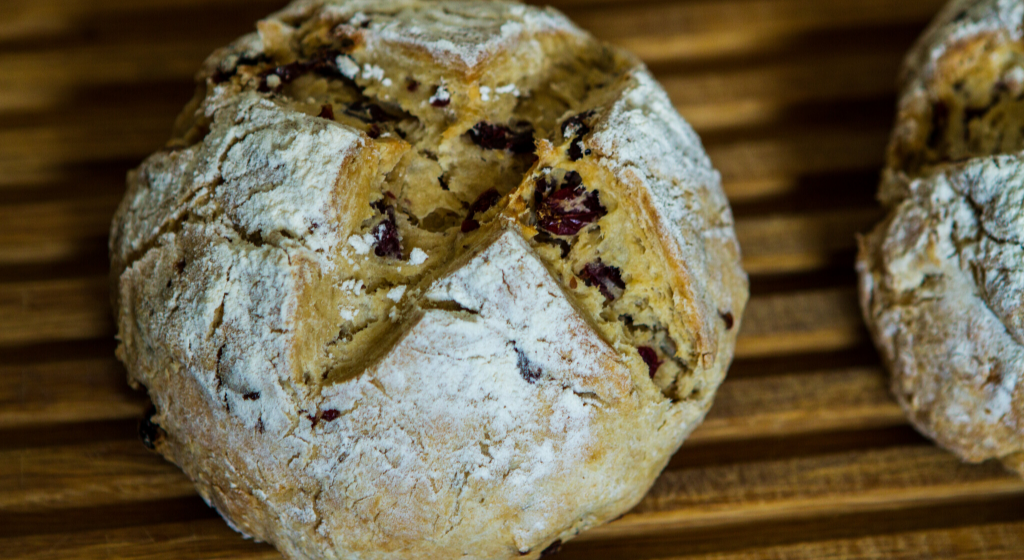
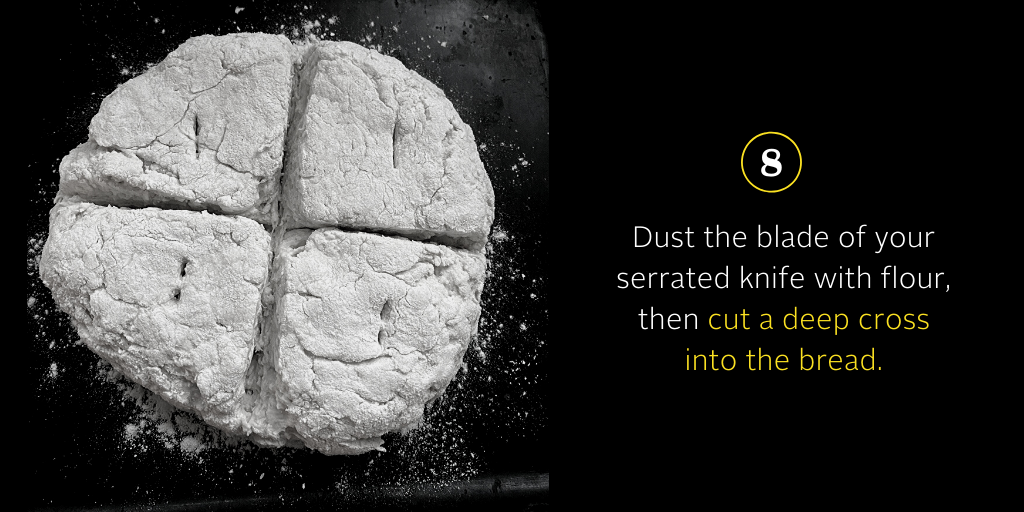
8. Using your serrated knife (dust the blade with flour too) cut a deep cross into the bread (one 12 to 6 o’clock, and one 3 to 9 o’clock) that penetrates about two-thirds of the way through the dough. This will allow the steam to easily escape during baking, create a light and flaky dough, and ensure the distinctive Soda Bread shape. If a shinier/golden result is desired, lightly paint the top of the four quadrants with a tablespoon or two of additional buttermilk using a pastry brush.
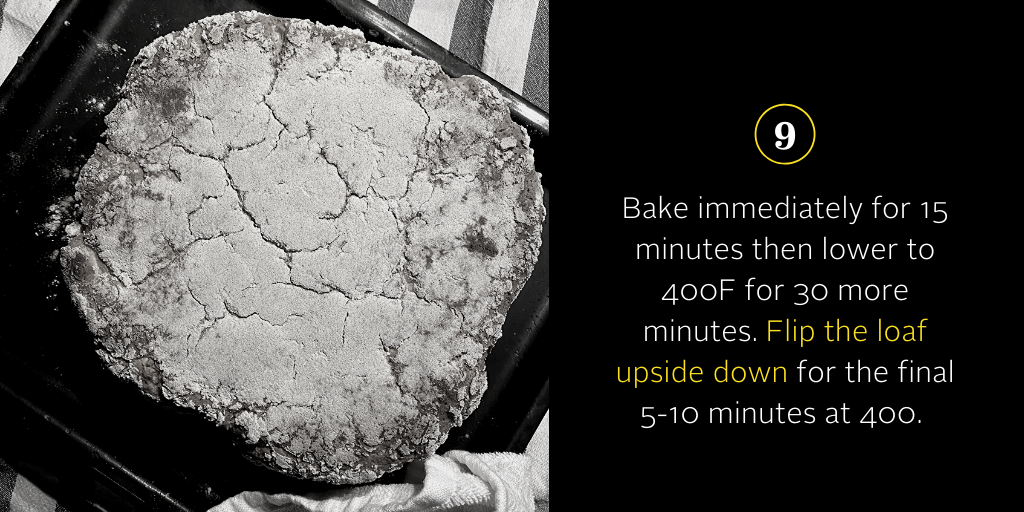
9. Bake immediately for 15 minutes at 450F, and then lower to 400F for 30 more minutes. To ensure an extra light dough, you can flip the loaf upside down for the final 5-10 minutes (of the 30 min @ 400F). Other than this flip, resist the urge to open the oven and check the loaf.
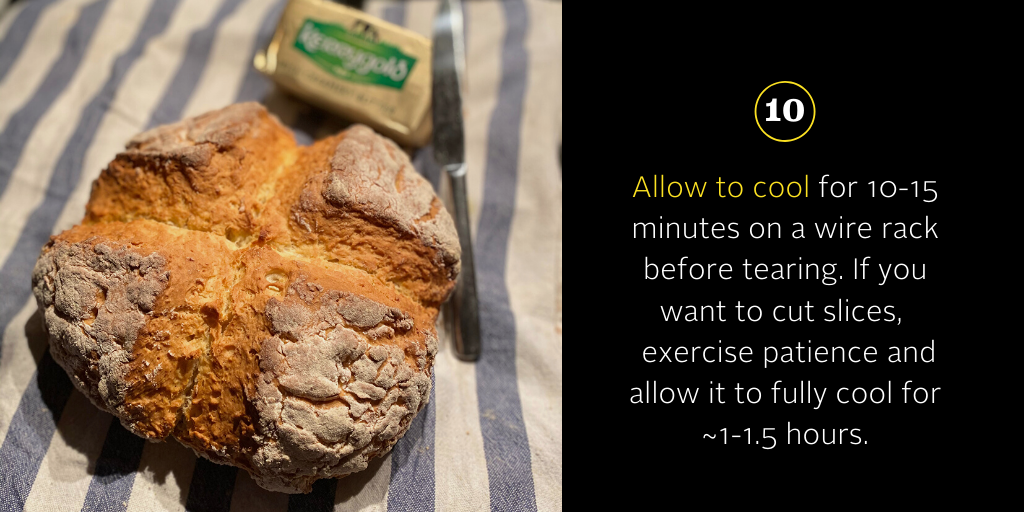
10. Allow to cool for 10-15 minutes on a wire rack. You can break it into quarters fairly easily and enjoy the light and steamy bread immediately with a big ‘ole spread of butter. If you want to cut slices, I’d encourage you to exercise patience and allow it to fully cool for about 1-1.5 hours.
Tips and Tricks:
- Once you have this base recipe mastered, have a blast with add-Ins. Raisins, chocolate chips, dried fruit, candied fruit, small cheese cubes, fresh herbs, and more. If a sweeter dough is desired, add a tablespoon or two of sugar to the dry mix. This is a great way to use up the little bits and bobs of leftover baking goodies in your pantry.
- Have on the ready some great room temperature butter like Kerrygold.
- DON’T FORGET to preheat your oven. The dough needs to get in the oven as quickly as possible
- Resist the urge to overmix! The less you ‘work’ the dough, the better the result.
- If your baking soda is old or expired, get a new container. The baking soda is the lifeline of this bread.
- Instead of a full loaf, you can roughly pat/roll the dough into 1-inch thick sheet and free form cut for delicious scones. Then sprinkle coarse sugar crystals or cinnamon sugar onto the buttermilk brushed scone pieces for added sweetness and texture. Allow for ~1-2” spacing for each scone, and you can reduce the baking time by ~5-10 minutes at 400F depending on the desired color. No need to flip upside down in this case.